Years ago as a starving actress in New York, I lived in Hell’s Kitchen, three blocks away from the Little Pie Company on West 43rd Street.
Whenever possible, I detoured by the shop. Sweet buttery scents announced the bakery’s proximity before you actually arrived in front of the store. There in show-stopping glory—it was the theater district, after all—a variety of overstuffed pies lined airy steel shelves behind the plate glass.
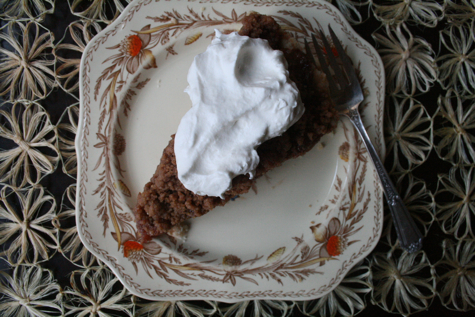
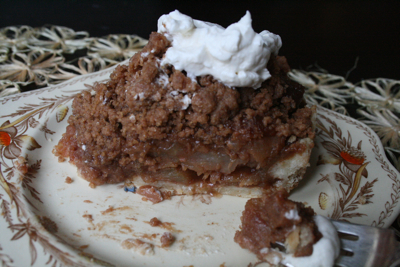
As Thanksgiving approaches, Piled-High Dutch Apple Pie, made in the Little Pie Company’s too-much-of-a-good-thing-is-wonderful tradition, seems perfect. The pie calls for 6 pounds or 18 cups—yes, you read that right—of peeled sliced apples.
This recipe is very freely adapted from Michael Romano’s 1997 New York Times’ version. And by freely, I mean, unrecognizably. But I want to give credit where credit is due: Romano’s three-part, separate-stage assembly is revolutionary.
Separate-step preparation yields superb non-soggy results
To get the apple filling to perfect melt-in-your-mouth pillowyness without over-baking the crust, you cook the filling and crust separately.
The staged preparation yields a buttery crisp crust, filling with just the right soft-to-firm apple ratio and a rich, mollassesy crumb topping with luscious butter, vanilla, lemon and cinnamon flavor notes.
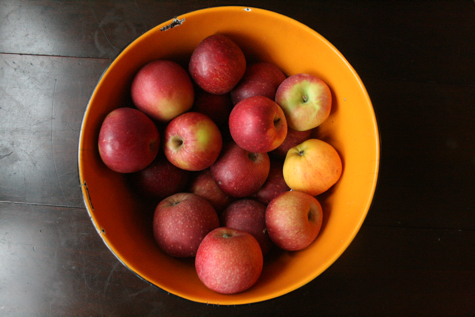
This year I’m using a mixture of Cortland and Empire apples from Westchester Greenhouse, my local farm stand. But any firm, tart apple works well.
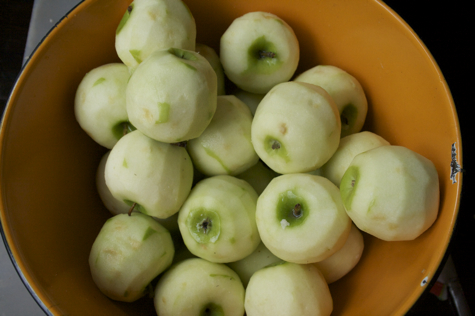
To assure the apples hold their shape over multi-step cooking, you peel, core and slice them thickly. If your apples are small, as mine are, you’ll probably just cut them into eighths. Toss them in lemon juice to keep them from browning as you peel all 18 cups of apples. I have my own staged peel-core-slice system, as you’ll read below.
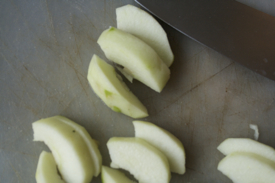
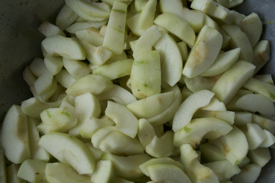
Crank up the music and start peeling
I won’t lie. The peel-core-slice takes time. Go ahead and put on some music, I’ll wait. I prefer Radiohead—my kids introduced them to me—for apple peeling. By the time I’m halfway through Okay Computer, the chore is done.
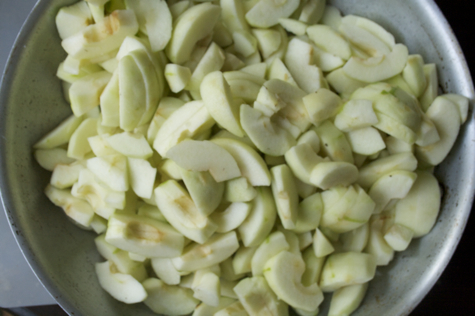
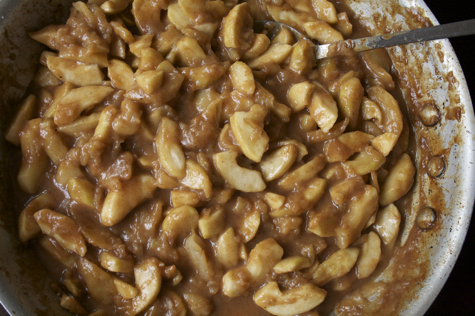
For the apples’ first-step cooking, you pan-fry them in melted butter. I use an over-sized frying pan, but any large, heavy pan or pot will do. After the apples soften slightly, add the sugar and cinnamon. The mixture melts into dark, spicy syrup. You gently stir and baste the apples until they cook to toothsome softness.
Addictive salty-sugary piecrust
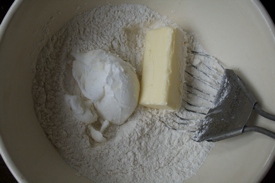
Meantime, prepare the crust. The secret to this crispy, salty-sugary crust is—surprise!—salt and sugar. And a ton of butter. And a very light mixing hand.
Ordinarily I avoid Crisco and other hydrogenated oils like the plague. But the small amount you add to this crust yields an incomparable light and flaky crust. And thankfully, the copious amounts of butter dominate the flavor.
You pre-bake the crust slightly to spare it from sogginess.
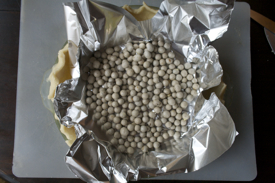
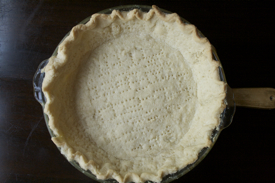
Lastly, in a separate bowl, mix the topping: More butter, sugar, flour and enough cinnamon to give the crumb a slightly bitter bark-like flavor.
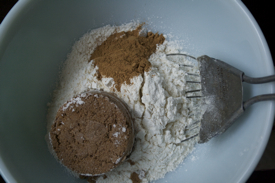
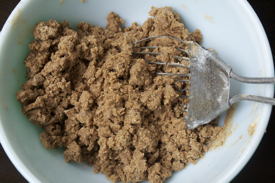
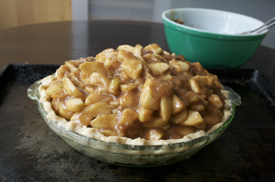
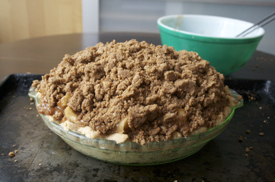
With yeoman’s prep done, assembly is a breeze. Spoon filling into crust, sprinkle—or more accurately, pat—the topping over the filling and bake.
All pie components can be prepared ahead
While this delicious pie is admittedly labor-intensive, its staged assembly allows you to prepare each part in advance—even days ahead—and put it together whenever you like.
Piled-High Dutch Apple Pie Recipe
Visitors, note: Proportions adjusted slightly on November 26, 2009.
Filling
18 cups tart apples—about 6 pounds—peeled, cored and sliced thick
Juice of 2 lemons
5 tablespoons butter
1 3/4 cup sugar
1 tablespoon cinnamon
1/3 cup flour
1 teaspoon vanilla
Crust
2 cups flour
1/2-3/4 teaspoon salt
2 tablespoons sugar
1/4 cup Crisco or other vegetable shortening
1/2 cup—1 cube—unsalted butter
Topping
2 cups flour
1 cup Demerara or brown sugar
1 tablespoon cinnamon
3/4 cup butter
Large pinch of salt
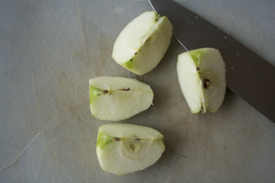
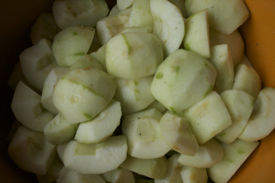
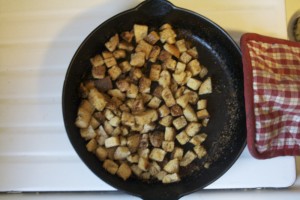
- About peeling, coring and slicing 18 cups of apples: The idea is to get the job done as quickly as possible without letting the apples turn brown. You can use any method you like, but I’ve developed my own systematized method. I’m convinced my method limits the apples’ surface area—the part of the apple exposed to air that turns it brown—at any given time. Anyway…In a small bowl, pour juice of two lemons. Peel an apple, then dunk it in the lemon juice. Continue until all apples are peeled, dipped in lemon juice and piled whole in a very large bowl. Now quarter the apples—without coring them—and put them back into the bowl. Pour any remaining lemon juice over the apple quarters and toss to coat. Next, core the apples—a melon baller, if you own one, is great for this task. Return the coredapple quarters back to the bowl, tossing to coat with lemon juice pooled at the bottom of the bowl. Lastly, slice the apples into thick 1/2-3/4” slices. The photos, above, somewhat illustrate the process.
- In a large frying pan or pot, melt 5 tablespoons of butter over low flame being careful not to burn the butter.
- Drain the apples from the lemon juice, reserving juice. Add apples to the butter, stirring to coat with butter. Cook over low flame for about 10 minutes until they soften slightly.
- In a small bowl mix 1 3/4 cups sugar and 1 tablespoon cinnamon. Pour the mixture over the apples along with reserved lemon juice, stirring to coat apple slices. Cook apples for another 15 minutes.
- Add 1/3 cup flour to apples, stirring to coat. Continue to cook apples until sauce thickens and apples are very soft but retain their shape. Cooking time varies depending on the variety of apples you use and how firm you like your filling—15-30 minutes. Be careful, however, not to cook the apples into an applesaucey mush.
- Stir one teaspoon of vanilla into apple topping, remove pan from flame and set aside.
- While apples cook you may make the piecrust. Ingredient quantities for my pie dough allow for a generous crust. You may even have a little dough leftover. Better too much than too little, as any cook who’s wound up with a skimpy crust will attest. So…in a medium-sized bowl, blend flour, salt and sugar.
- With a pastry blender, a whisk or your fingers, cut in butter and shortening. Butter should be slightly cold, but soft enough to incorporate into flour and salt mixture. In the past I managed the butter’s contradictory cold-soft state by grating the butter: It stayed cold enough to remain solid in the dough mixture, but airy enough to blend. Today I soften the butter ever so slightly by microwaving it 2-3 seconds at a time. If you opt for nuking, proceed carefully. The goal is soft—not warm or melted—butter. Blend the fats into the flour and salt until the mixture is mealy.
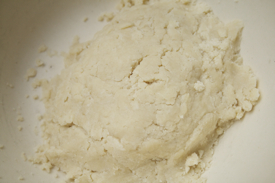
- Fill a small glass with ice cubes and water. Sprinkle two tablespoons of ice water over the flour and butter mixture, tossing with a whisk or your fingers.
- Press the dough into a mound. If the mound holds, you’ve added enough water. Sometimes it only takes two tablespoons—moisture levels in butter and flour vary. If the mixture is dry and crumbly, however, add another tablespoon of ice water, toss and gather to see if it holds together.
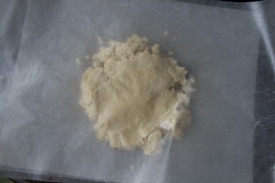
- Once the dough holds in a mound, transfer it to a sheet of wax paper laid out on a flat surface. Push the dough ball down slightly and cover with another sheet of wax paper. My gourmand college-aged son chills the dough before rolling. I feel this makes the crust denser: I roll immediately after mixing.
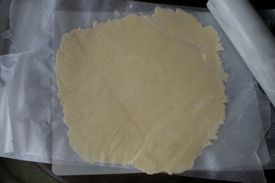
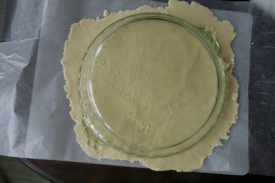
- Using a rolling pin, roll the dough into a circle. You can pinch off and patch some dough to fill in gaps and form an even circular shape. The dough should extend about 1 1/2 inches beyond the pie pan on all sides—to allow for the pie’s crust.
- Carefully peel off the top layer of wax paper, place the pie pan in the center and flip the dough and pie pan.
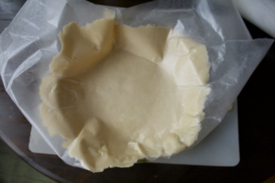
- Peel off the remaining layer of wax paper. If dough is too sticky you can place the pie pan, dough and wax paper in the fridge or freezer for a few minutes. The wax paper should peel off easily.
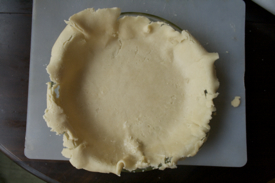
- Shape a fluted crust.
- Chill unbaked pie crust for around 30 minutes. Chilling helps the crust hold together and prevents it from melting when you bake it.
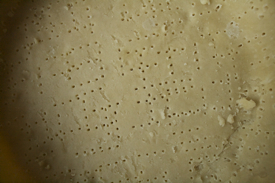
- Just before you’re ready to use the pie shell, remove it from the fridge. Prick the shell’s bottom and sides multiple times—around fifty pricks—with a fork. This keeps the crust from bubbling and bucking when you bake it.
- To pre-bake shell, preheat oven to 350 degrees. Place a sheet of foil or wax paper over the crust and add pie weights—you can also substitute dried beans.
- Put pie shell in oven and bake for 15 minutes. Slide pie shell from oven, remove foil and pie weights—reserve beans for reuse—and put shell back into oven. Bake for another 10 minutes.
- Remove shell from oven and let crust cool—about 15-20 minute.
- In a small bowl mix the topping, blending flour, Demerara or brown sugar, cinnamon, butter and pinch of salt together with a fork or whisk until crumbly.
- Spoon apple filling into cooled shell, piling filling high in the pie’s center.
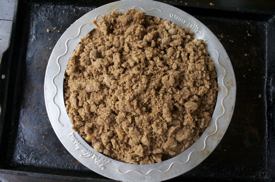
- Pat crumb topping onto pie, being careful not to spill topping onto crust—it will burn and harden the crust.
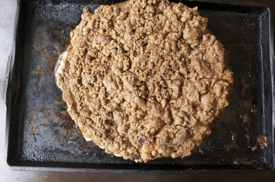
- Put pie on cookie sheet to catch drips while baking. Place a metal guard over the crust—you may also use thin strips of foil—to keep the crust from over-browning.
- Slide cookie sheet and pie into the preheated 350-degree oven. Bake until filling is bubbly and crumbs slightly browned—about 15-20 minutes.
- Remove pie from oven. Cool slightly before slicing and serve with a dollop of sweetened whipped cream.
Serves 8-10.



oh wow what a pie and great picture, love your blog name, i am a new writer
Happy Thanksgiving
Rebecca
Hi Rebecca:
Thanks for dropping by. Most recipes on this blog are fast and easy–for busy writers like you. This pie takes a little more time, but is well worth the effort–especially for holidays.
Hope you have a grand Thanksgiving.